Picture yourself coming home after a long day—you’re hungry, tired, and the last thing you want is to cook from scratch. It’s a situation I’ve lived more times than I care to admit, and I’m guessing you have too. That endless takeout cycle? It’s expensive, bland, and leaves you craving something homemade.
Here’s the thing: scrambling for dinner every night gets old really fast. Not knowing what’s for lunch tomorrow can mean you settle for sad, overpriced options or skip meals entirely. That stress builds up, chipping away at your energy and your wallet—until you finally think, “There has to be an easier way.”
By the end of this guide, you’ll have a solid handful of easy meal prep recipes beginners genuinely love using—plus real-life tips to make your week smoother and more delicious. Ready for that first ‘aha’ moment? Let’s dive in.
Why Meal Prep Makes Weeknights Easier For Everyone
Imagine this: you open your fridge on a hectic Wednesday night and find neat containers of seasoned chicken, roasted veggies, and brown rice—all ready to heat and eat. There’s no stress, no sink full of dishes, and honestly? No reason to order overpriced takeout again.
Why does meal prep work so well for busy weeknights? It’s all about removing that daily mental load. Every evening, you face the dreaded question—what’s for dinner? Meal prep answers that in advance, so your weekday self only has to heat, serve, and enjoy. According to the Academy of Nutrition and Dietetics, people who plan and prep meals ahead eat healthier and experience less mealtime stress throughout the week.
💡 Pro Tip: Stick to recipes with overlapping ingredients. Using chicken or tofu in two different dishes saves both time and money. Plus, you’ll waste less produce.
Meal prepping also helps you save money and reduce food waste. Instead of letting groceries rot in the back of the crisper drawer, you portion out exactly what you’ll use—and skip that last-minute run to the store.
- Time Savings: A single prep session frees up 30-40 minutes every night.
- Healthier Choices: You’re less likely to overeat or skip vegetables if it’s already cooked and waiting.
- Peace of Mind: No more scramble to throw together something edible when you’re already hungry.
Picture this scenario: Jamie, a nurse working 12-hour shifts, spends Sunday afternoon prepping three easy meals. Midweek, she’s exhausted but grateful—because dinner takes just five minutes and a microwave, not an hour of chopping and cleaning. That’s true convenience.
| Benefit | How Meal Prep Helps | Real-Life Example |
|---|---|---|
| Time | Batch cooking on weekends = less rushing on weeknights | Home-cooked stir-fry in minutes |
| Health | Prepared portions curb cravings for junk food | No late-night fast food runs |
| Money | Planned meals reduce takeout orders | Leftovers become tomorrow’s lunch |
The truth is, meal prep isn’t just for elite fitness buffs or influencers—it’s practical, budget-friendly, and totally doable for any household. But there’s one detail most beginners completely overlook until it’s too late…
Essential Tools And Tips For First-Time Meal Preppers
What keeps most beginners from sticking with meal prep? Often, it’s not lack of motivation—it’s not having the right gear or just getting buried under random advice. Let’s break down what truly matters so you start strong.
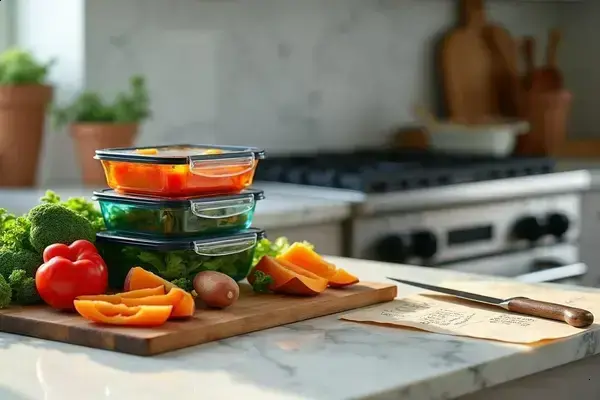
- Glass containers with tight lids: They keep meals fresher longer and can go from fridge to microwave to dishwasher without drama.
- Sharp chef’s knife: Prepping veggies or proteins is a hundred times easier when you actually like your knife.
- Cutting board (at least two): Use one for meat, one for produce. Saves time, reduces risk of cross-contamination.
- Sheet pans: The secret behind easy roasted veggies, one-pan chicken, or quick tofu bakes.
- Measuring cups/spoons: Consistency means you won’t end up with watery quinoa or burnt beans.
💡 Pro Tip: Invest in stackable glass containers. According to the USDA’s Food Safety guidelines, properly stored leftovers in these containers last up to 4 days, reducing waste and making meal planning simpler.
Picture this scenario: A college student named Evelyn tries meal prepping for the first time. She buys plastic containers on sale, but the lids warp, her soup leaks, and after microwaving, her food tastes like last week’s tacos. She upgrades to glass and never looks back. It’s a game-changer—her food stays fresher, it’s less work, and she doesn’t worry about melting plastic.
But let’s talk about two underrated essentials: a clear, wide-lipped mixing bowl (great for batch salads or marinating) and sticky notes or erasable markers (so you always know what’s in the container and when it was prepped). These make tracking easy and prevent that mystery container problem.
| Tool | Why It Matters | Pro Tip |
|---|---|---|
| Glass Containers | Freshness & Safe Reheating | Choose ones with compartments for variety |
| Chef’s Knife | Effortless Cutting | Sharpen regularly for safety |
| Sheet Pan | Batch Cooking | Line with parchment for less cleanup |
The right tools don’t just save you time—they make meal prep something you’ll actually want to do. And this is exactly where most people make the most common mistake…
Step-By-Step Guide: Your First Simple Meal Prep Routine
How do you actually make meal prep stick when daily chaos tempts you to order takeout? The answer: a repeatable, simple routine. Let’s walk through a plan that just works—even for total beginners.
- Glass meal prep containers (3-6, depending on your week)
- Chef’s knife + cutting board
- Sheet pan or large skillet
- Measuring cups/spoons
- Olive oil, salt, pepper, and your favorite seasonings
- Pick Two Protein Sources and Three Veggies
Start with basics you actually enjoy—think chicken, tofu, bell peppers, broccoli, carrots, beans, or eggs. Having variety helps you avoid meal boredom. - Batch Cook on a Sunday (or your “free” day)
Roast, grill, or sauté your proteins and vegetables using one or two pans. This saves on cleanup and keeps your meals consistent. - Prepare a Base Grain
Choose brown rice, quinoa, couscous, or whole-wheat pasta. Cook enough for the week—about 1/2 to 1 cup cooked per meal, stored in a separate container. - Cool and Assemble
Let everything cool slightly. Then divide into individual portions in your containers: protein + veggies + base. Sprinkle fresh herbs or a dash of lemon juice for extra flavor. - Date and Store
Label each container with the prep date. Store in the fridge up to 4 days (see CDC food safety guidance).
💡 Pro Tip: Choose one signature sauce—like homemade vinaigrette or tzatziki—to instantly switch up flavors through the week. Little variety, big difference!
In practice: On Sunday, Taylor spends just over an hour batch-cooking chicken breast, roasting sweet potatoes and broccoli, and boiling brown rice. Each night, Taylor grabs a balanced meal from the fridge, saving time, money, and willpower for other things. No more late-night stress, just routine and a little self-pride.
But what actually works for keeping meals tasty—and safe—day after day might surprise you…
Tasty Make-Ahead Recipes Even Total Beginners Can Nail
Worried you need chef skills to whip up meal prep dishes you’ll actually want to eat? The truth is, everybody starts somewhere—and sometimes, simplicity makes meals taste even better. Let’s unlock a few beginner-friendly make-ahead recipes that pack flavor and nutrition without demanding hours in the kitchen.
- Honey Mustard Chicken Bowls: Roast chicken breasts tossed with honey, Dijon, garlic, and olive oil. Pile onto brown rice with steamed broccoli and shredded carrots. Marinate the chicken for 15 minutes while you prep veggies and you’ll double the flavor.
- Sheet Pan Veggie Fajitas: Slice bell peppers, onions, and zucchini. Toss with olive oil, chili powder, smoked paprika, and cumin. Bake with sliced chicken or black beans. Serve with tortillas or cauliflower rice for a low-carb twist.
- Mediterranean Quinoa Salad: Cook quinoa and toss with cherry tomatoes, chopped cucumbers, feta, chickpeas, parsley, olive oil, lemon juice, and a pinch of salt. Tastes even better after chilling—fresh, bright, and perfect straight from the fridge.
💡 Pro Tip: Double any sauce that calls your name—store half in a small jar. Swapping sauces between meals keeps things exciting and helps you avoid flavor burnout, which is a top reason beginners quit.
Picture this scenario: Alex, who never cooked more than instant ramen, tries meal prepping a fajita sheet pan. With one pan and a timer, dinner for days is ready. The simple recipes become Alex’s weekly ritual, proving that a little confidence (and smoky spice) goes a long way.
| Recipe | Why It Works | Best Time to Prep |
|---|---|---|
| Honey Mustard Chicken | Protein-packed, reheats perfectly | Sunday afternoon |
| Veggie Fajitas | Flexible, minimal chopping | Weeknight, 30 mins |
| Quinoa Salad | No-cook lunch, stays fresh longest | Night before work |
According to the American Heart Association, whole grains and colorful veggies like those above help reduce heart disease risk and maintain steady energy—so your meal prep habit benefits you inside and out. And this is exactly where most people make the most common mistake…
How To Store And Reheat Meals Without Sacrificing Flavor
Ever bitten into a meal-prepped lunch only to find it’s gone dry, soggy, or bland? Here’s the thing: storing and reheating meals the right way doesn’t just preserve taste—it keeps your healthy ingredients safe and satisfying for days.
- Cool Before Storing
Let food cool to room temperature—no rushing. Hot food creates steam, which leads to moisture buildup and ultimately that dreaded mushy texture. - Choose Airtight Containers
Glass containers prevent flavors from lingering and help lock in moisture better than most plastic. Invest in tight sealing lids (snap or silicone ring styles). - Reheat with a Splash of Liquid
If microwaving rice or meat, add a tablespoon of water or broth. Cover loosely to trap steam, which revives moisture and prevents drying. - Separate Sauces & Crunchy Items
Store dressings, nuts, or crispy toppings in separate small containers. Add them only after reheating for the best texture. - Know Safe Storage Limits
According to the U.S. Department of Agriculture, prepped meals stored cold (below 40°F) are safe for 3-4 days. Freeze portions you won’t eat by then.
⚠️ Important Warning: Never reheat food more than once. Repeated cycles dry out food and raise food safety risks—especially for proteins like chicken or seafood.
In practice: Picture this scenario—Maya preps a week of lunches, pairing sauces on the side and splitting grains from proteins. When she reheats, she adds a splash of water and microwaves in short bursts, stirring halfway. Her chicken stays juicy. Roasted veggies don’t go limp. And, just as vital, nothing in her fridge ever feels like last night’s leftovers.
| Storage Method | Ideal For | Pro Tip |
|---|---|---|
| Fridge (up to 4 days) | Cooked grains, meats, non-leafy veggies | Label with dates—oldest gets eaten first |
| Freezer (1-3 months) | Soups, stews, batch proteins | Freeze in single portions for easy grab-and-go |
| Room Temp (max 2 hours) | Prepared food only while assembling | Transfer to fridge/freezer as soon as possible |
Small steps, repeated consistently, make the biggest difference over time. Once your food is stored and reheated with care, you’ll enjoy every bite as if it were just made!
Meal Prep Is Now Second Nature
If you take just one thing from this guide, let it be: you don’t need to be a chef to master easy meal prep recipes for beginners—just some planning and the right tools. Prepped ingredients, simple flavors, and smart storage save time, money, and your sanity during the week.
Remember struggling to figure out dinner at the last minute? That kind of stress belongs in the past. Now, your fridge and freezer work for you. Eating well feels doable. You’ll actually look forward to weeknight meals, because you made them easy, tasty, and yours.
Which recipe, tool, or tip are you most excited to try out in your own kitchen? Tell us in the comments below—let’s keep the conversation going!
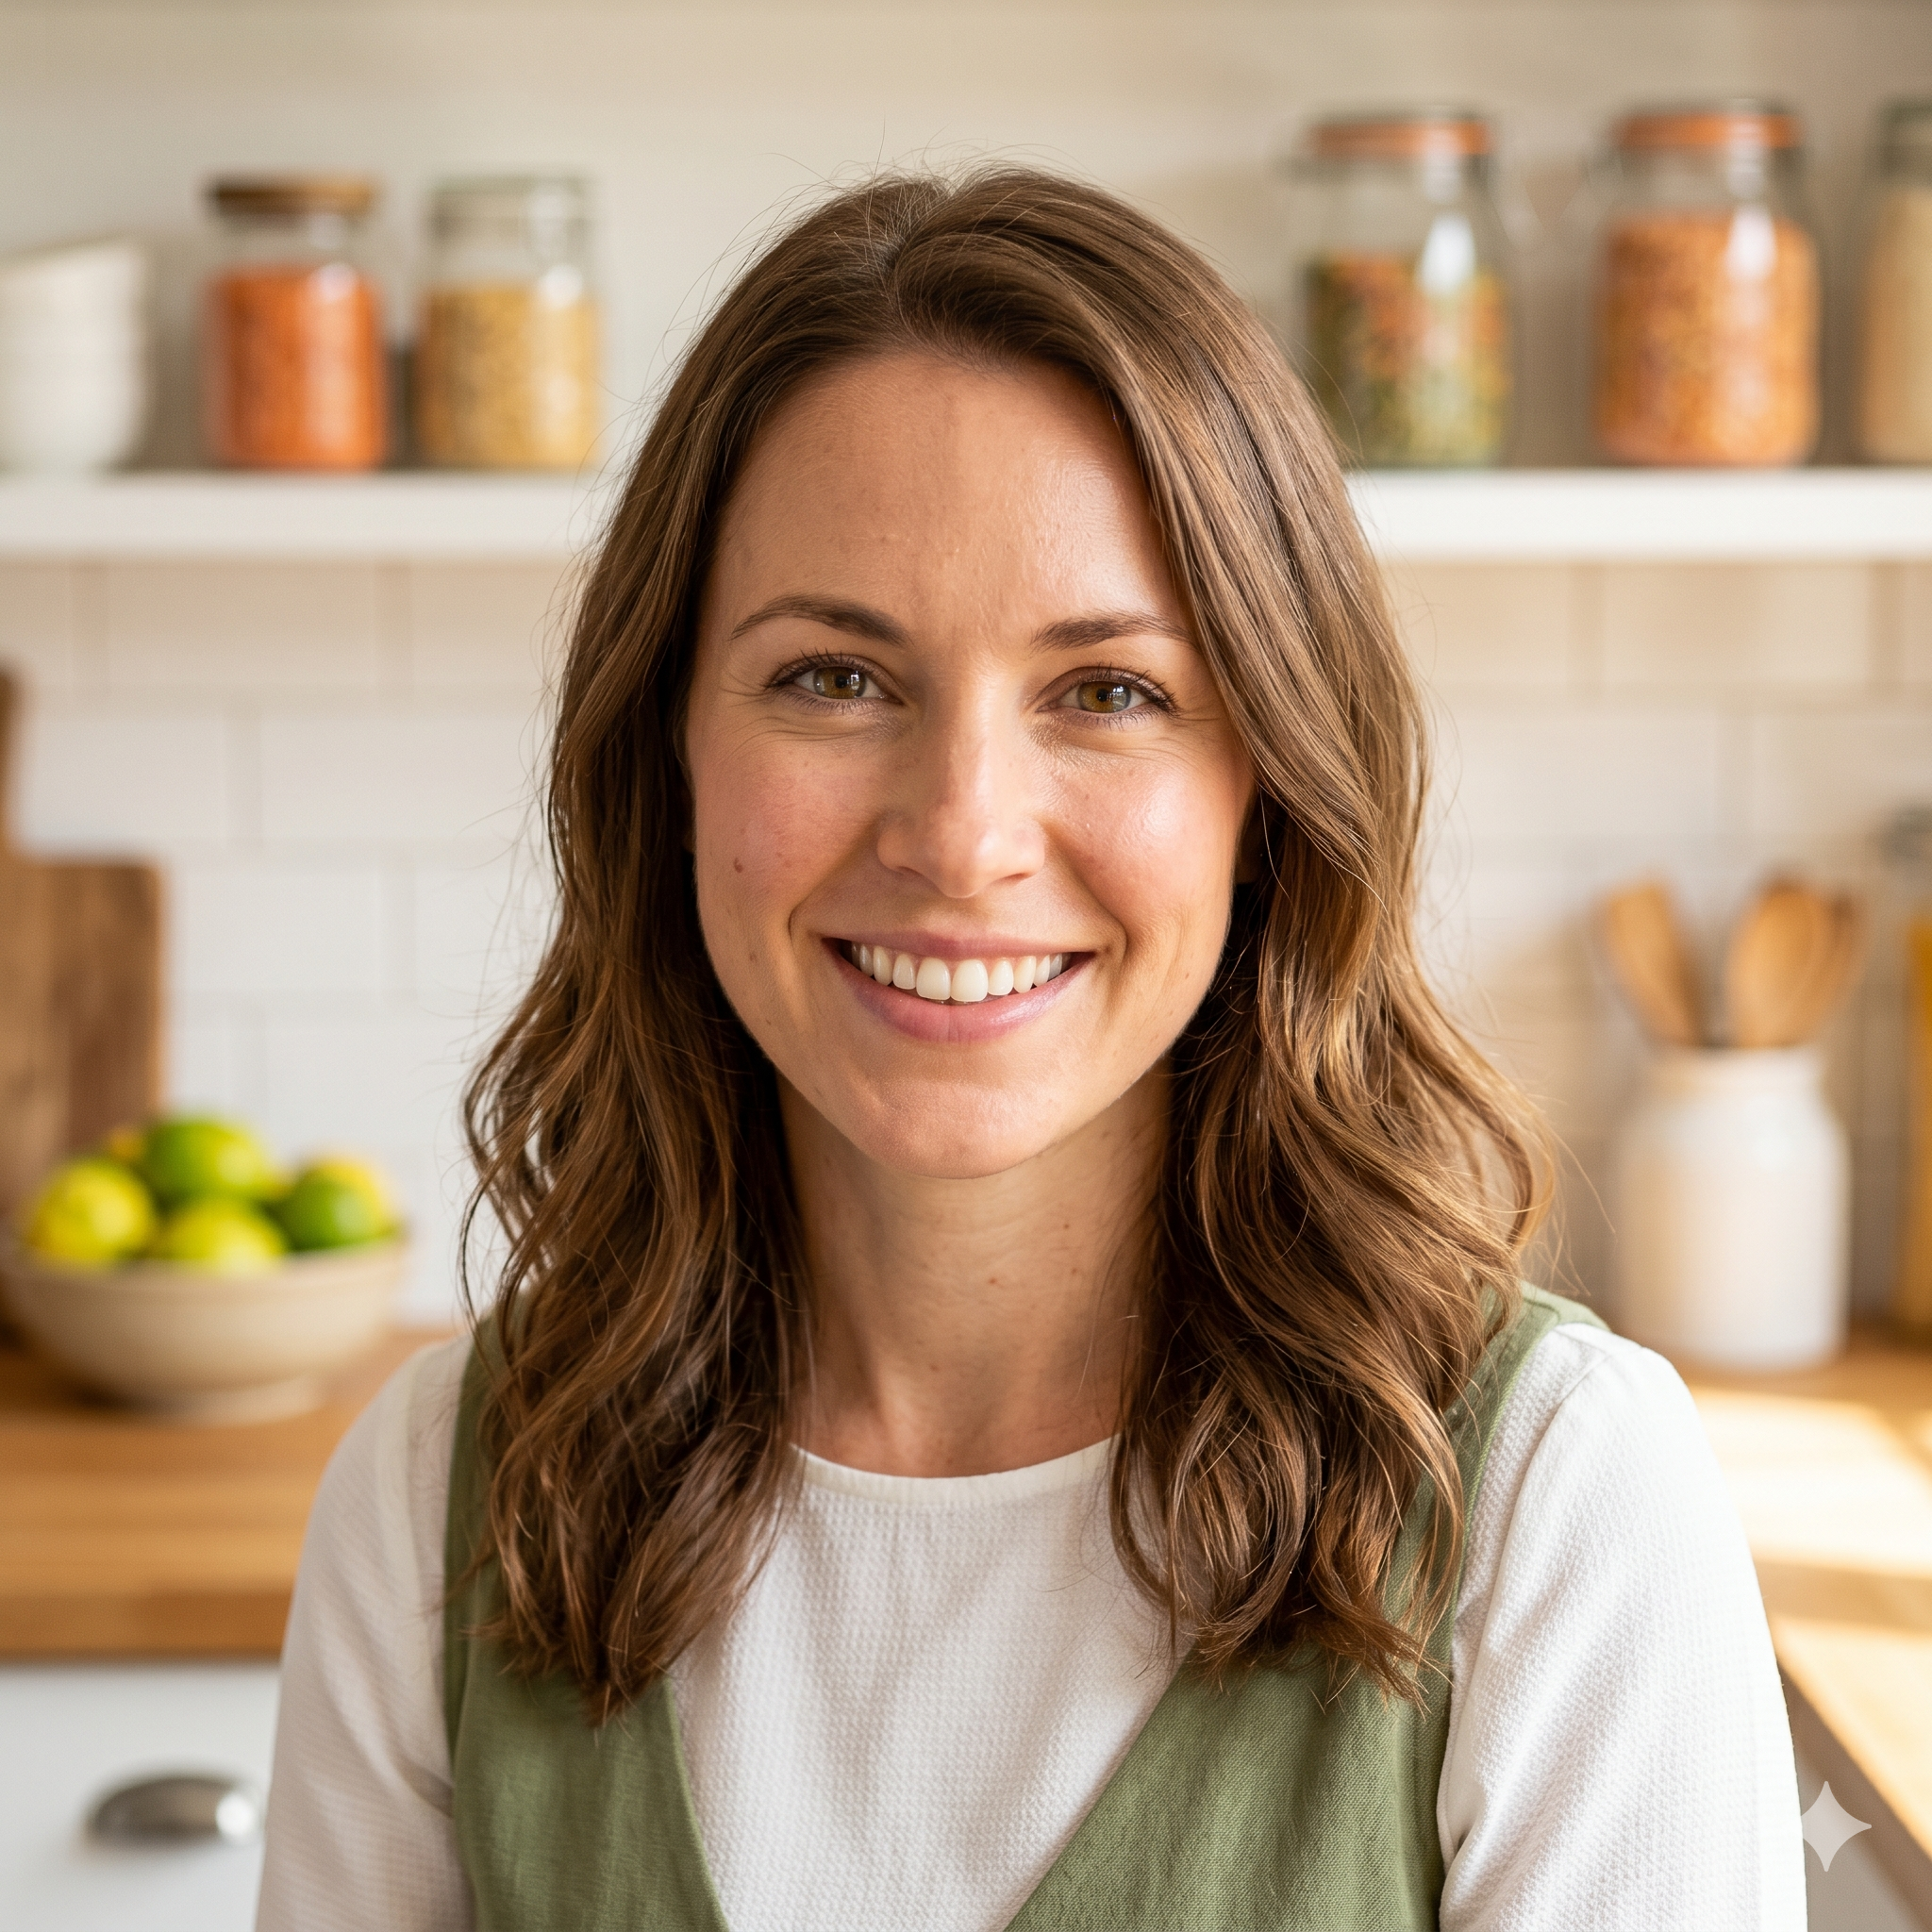
Lauren Marie Collins is a meal planning enthusiast and nutrition writer dedicated to helping everyday people eat healthier, spend less, and actually enjoy the food they prepare. With a passion for practical meal prep systems and honest nutrition guidance, Lauren built this blog to make healthy eating feel simple, sustainable, and genuinely accessible for everyone.