Imagine getting home after a long workday, opening your freezer, and finding a whole week of home-cooked meals ready to go. No last-minute scrambles or drive-thru guilt—just real food, made by you, waiting for a quick reheat.
If you’ve ever stared at a fridge full of raw ingredients but zero quick meal options, you know that weeknight burnout is real. Honestly, trying to juggle cooking, work, and a little downtime? It can leave you reaching for expensive takeout or skipping meals entirely—nobody wins.
But here’s the thing: with some savvy batch cooking and by mastering how to freeze meals for the week, you get more time, less stress, and dinners you’ll actually look forward to. Ready to see how this works in your real life? Let’s dive in.
Why Freezing Meals Changes Your Weekly Routine
Ever wonder why some families always seem to have healthy dinners on the table, even on their busiest nights? It’s not just luck — it’s a freezer stocked with ready-to-go meals. Freezing your meals for the week is a strategy that transforms chaos into calm, giving you control over your schedule, diet, and even your budget.
Here’s the thing: when you prep and freeze meals in advance, you’re trading daily stress for a handful of well-spent hours once a week. Imagine skipping the frantic ‘what’s for dinner?’ debate — and instead, grabbing a homemade lasagna or veggie curry made with your favorite ingredients. The difference is immediate, from lower takeout bills to that quiet sense of relief you feel when you know dinner is handled.
💡 Pro Tip: According to the Academy of Nutrition and Dietetics, having prepared meals in your freezer reduces your risk of unhealthy last-minute decisions and helps keep portions in check — so you’re not just saving time, but supporting better habits, too.
Picture this scenario: It’s Thursday night, you’re finally off work but you’ve got zero energy left. Instead of reaching for chips or ordering expensive takeout, you remember those taco bowls you prepped on Sunday. In ten minutes, dinner’s hot, balanced, and everyone’s happy — and you didn’t waste an extra dime or minute in the kitchen.
The Real-Life Benefits Of Freezing Meals
- Consistency: You stick to meals you planned, reducing impulse eating.
- Portion Control: Pre-portioned servings make it easier to eat just the right amount.
- Budget: Buying in bulk cuts costs and less food spoils.
- Peace of Mind: Less panic over dinner equals less stress for everyone.
- Nutrition: Home-cooked meals put you in charge of the ingredients.
| Without Freezer Meals | With Freezer Meals | Biggest Change |
|---|---|---|
| Daily last-minute cooking | Batch cooking on Sunday | More free evenings |
| Frequent takeout costs | Groceries in bulk | Lower food spending |
| Unpredictable nutrition | Pre-set balanced meals | Healthier choices |
If you’ve never tried freezing meals, it’s normal to wonder if they’ll taste as good or save you that much time. What actually works might surprise you…
Smart Meal Planning Before You Start Cooking
What’s the real difference between winging it and planning your meals with intention? It’s less confusion, less food waste, and a week where you genuinely look forward to what’s on the menu. Smart meal planning is ground zero for any successful batch cooking and freezer prep — it’s where the magic truly begins.
The Core Ingredients for a Foolproof Meal Plan
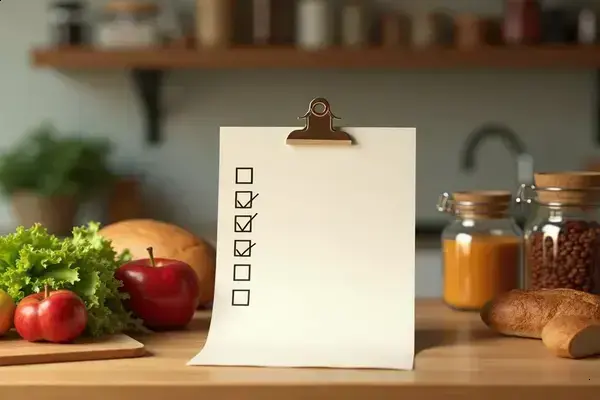
- Blank Calendar or Planning Sheet
- Pen or digital meal planner app
- Your family’s schedule (work, activities, events)
- List of staple ingredients on hand
- Grocery list for missing items
Picture this scenario: You’ve just come back from the store. You’re tired, but committed to freezing a week’s worth of dinners. You glance at your plan — Monday is chili, Tuesday’s got stir-fry, Friday is pizza night. The guesswork is gone. You’re set up for fewer decisions and less stress all week long.
Step-by-Step: Building a Smart Weekly Meal Plan
- Review your upcoming week and mark busy nights where quick meals are a must.
- Pick 3-4 main dishes that freeze and reheat well (think stews, casseroles, hearty soups).
- Choose sides that can also be batch prepared, like brown rice, roasted veggies, or mashed potatoes.
- Write out a full menu and use it to create a precise grocery list. Stick to actual quantities you’ll use.
- Balance nutrition — aim for a mix of proteins, vegetables, and whole grains in every meal.
- Double-check your pantry and freezer before shopping, so nothing goes to waste.
- Block off a batch cooking session on your calendar, allowing 2-3 hours for stress-free prep.
💡 Pro Tip: The United States Department of Agriculture’s MyPlate guidelines recommend mapping out meals with half your plate as vegetables and fruit—freezer prep makes sticking to these proportions so much easier, meal after meal.
In practice: families who take 20 minutes each weekend to lay out their meal plan consistently report less food spoilage, lower monthly grocery bills, and happier meal times, according to the Academy of Nutrition and Dietetics. Smart planning isn’t just about what’s for dinner — it’s peace of mind, week after week.
| Planning Method | Best For | Tradeoff |
|---|---|---|
| Handwritten Calendar | Visual learners, families w/kids | Easy to forget updates |
| Meal Planning App | Digital natives, busy schedules | Needs device access |
| Recipe Card Box | Traditional cooks, sentimental value | Harder to share or edit |
But here’s where even the best planners slip up — choosing meals that don’t actually freeze well, or forgetting about that soccer practice on Wednesday. And this is exactly where most people make the most common mistake…
Best Techniques To Prep And Portion Meals
Ever struggled with soggy leftovers or frozen meals that just don’t taste right? Prepping and portioning meals for the freezer is more science than guesswork — and when you nail it, your reheated dinners are almost as good as the day they were made.
Essential Tools for Perfect Prep
- Glass or BPA-free plastic containers (airtight seals are a must)
- Freezer-safe resealable bags
- Permanent marker or freezer labels
- Measuring cups and portion scoops
- Baking trays for flash-freezing
But how do you guarantee food tastes fresh, keeps its texture, and doesn’t turn into freezer-burned mystery mush?
- Cool cooked food to room temperature before freezing to prevent ice crystals.
- Portion meals into individual servings — single meals freeze and reheat far better than giant blocks.
- Use a baking tray to “flash freeze” unpackaged items (like meatballs or burritos) for 1-2 hours, then transfer to bags or containers.
- Wrap or cover foods tightly, squeezing out as much air as possible from bags to stave off freezer burn.
- Label everything with the meal name and freeze date (and, if you’re ambitious, reheating instructions!).
- Arrange flat items (like soups or sauces) horizontally — they freeze and stack better this way, saving space and thawing faster.
- Store meals you’ll eat soonest at the front and rotate older stock to the top or front to maintain freshness.
💡 Pro Tip: The Food Safety and Inspection Service (USDA) recommends freezing foods in portions you’ll actually use within two months. Smaller portions mean less waste, quicker thawing, and more consistent flavor — your future self will thank you.
In practice: imagine prepping a double batch of chicken curry and dividing it among a set of uniform glass containers. A month later, each is just as flavorful and doesn’t suffer that dreaded freezer funk.
| Technique | Best For | Common Mistake |
|---|---|---|
| Flash Freezing | Meatballs, burritos, pastries | Skipping step = clumping |
| Single-Serve Containers | Soups, stews, casseroles | Overfilling containers |
| Flat Freezer Bags | Sauces, chili, grains | Under-labeling or no date |
And what about those meals that look perfect when frozen but disappoint when reheated? That’s a sign you need the right storage techniques next. What actually works might surprise you…
Freezing, Labeling And Storing For Freshness
Do you ever pull out a freezer meal and wonder what it is, when you cooked it, or whether it’s still safe to eat? The solution isn’t fancier recipes — it’s mastering how you freeze, label, and store everything for maximum freshness and food safety.
- Cool Your Meals Properly: Don’t rush hot food straight into the freezer. Let meals cool at room temperature until just warm to the touch — then refrigerate briefly before storage. This keeps food out of the “danger zone” (40°F to 140°F) and helps protect texture.
- Choose the Right Containers: Opt for airtight glass containers, vacuum-sealed bags, or heavy-duty freezer bags to prevent dreaded freezer burn. Flat freezer bags are space savers, while glass lets you see contents easily.
- Label Like a Pro: Every item you freeze should have three clear things: meal name, freeze date, and use-by date (most meals are best within 2–3 months). Use permanent markers or purpose-made labels you can write on, never sticky notes.
- Stack and Store Strategically: Place new meals behind (or under) older ones, so you’re always rotating and using food at peak quality. Leave air circulation space to keep temperatures even.
- Monitor Freezer Temperature: According to the U.S. Food and Drug Administration, your freezer should always be at or below 0°F (-18°C) for safe long-term storage.
⚠️ Important Warning: Never refreeze food that has thawed fully at room temperature — this can promote bacteria growth and spoilage. When in doubt, toss it out and consult your healthcare provider if you’re concerned about foodborne illness.
Picture this scenario: One parent spends a weekend prepping three soups and two casseroles, labeling each with “Beef Chili 4/14, Use By 6/14.” A month later, it’s easy to spot what’s oldest and needs to be eaten first. No mystery leftovers, no risk of forgotten food getting lost behind bags of frozen peas.
| Container Type | Best For | Downside |
|---|---|---|
| Glass Container (Airtight) | Stews, casseroles, visible stacking | Heavy, higher upfront cost |
| Vacuum-Sealed Bag | Proteins, meal kits, max freshness | Needs special sealer appliance |
| Heavy-Duty Freezer Bag | Soups, sauces, flat storage | Tears easily if overfilled |
Here’s the thing: the right storage system means every meal stays safe, delicious, and easy to find — but most people forget about the reheating stage. And this is exactly where most people make the most common mistake…
How To Reheat Meals So They Taste Homemade
Ever microwaved a meal only to get dry edges, freezing cold spots, or a dish that just feels flat and lifeless? The real secret to freezer meal success is knowing how to reheat so your dinners taste like they just came out of a home kitchen — not a plastic tray.
Step-by-Step: Reheating Techniques for Delicious Results
- Thaw Safely: Move your meal from freezer to fridge 24 hours in advance for the most even heating. If you’re short on time, use the microwave’s defrost setting or place the sealed container in a bowl of cool water — but never thaw at room temperature for more than 2 hours.
- Oven Magic: For casseroles, baked pasta, or hearty stews, cover them with foil and bake at 325°F–350°F until heated through (usually 30–45 minutes). This keeps moisture in and brings back those oven-fresh textures.
- Microwave Like a Pro: Use a microwave-safe cover and stir halfway through. Reheat in short bursts (about 2–3 minutes at a time) to avoid overheating edges while leaving the center cold.
- Skillet or Saucepan Revival: Soups, chilis, and stir-fries do best on the stovetop, where you can add a splash of water or broth and stir gently as they return to life.
- Finish With Freshness: Sprinkle chopped herbs, fresh cheese, or a squeeze of lemon right before serving—tiny touches make batch-cooked meals feel totally new.
💡 Pro Tip: According to the USDA Food Safety and Inspection Service, always heat leftovers to an internal temperature of 165°F (74°C) to ensure food safety and optimal taste. Investing in a quick-read food thermometer pays off in both taste and peace of mind.
Picture this scenario: It’s Wednesday, and you thawed homemade chicken enchiladas overnight. You pop them, covered, into the oven, finish with fresh cilantro, and serve with sliced avocado. The family digs in, and no one suspects dinner wasn’t made just hours ago.
| Reheating Method | Best For | Common Mistake |
|---|---|---|
| Oven (with foil cover) | Casseroles, lasagna, baked dishes | Skipping cover — dries out |
| Microwave (with stirring) | Single-portion soups, rice, stews | No stir = cold spots |
| Stovetop (gentle simmer) | Chili, soup, saucy meals | Overheating or not adding liquid |
Once this is in place, the rest of the routine falls into place naturally.
Your Weeknight Dinners, Reimagined
If you take just one thing from this guide, let it be: prepping and freezing meals ahead isn’t just about saving time—it’s about giving yourself weeks of peace, control, and better nutrition. A little meal planning, smart portioning, and following freezing best practices will make your weeknight routine smoother than you ever thought possible. The right approach to how to freeze meals for the week changes everything.
Before, you faced last-minute scrambles and too many expensive takeout nights. Now? You’ve got simple systems and fresh meals ready whenever you need them. It doesn’t have to be complicated. It just works. Try it once, and you’ll never look at your freezer the same way again.
Which part of freezing meals are you excited to try first—batch cooking, smart storage, or homemade reheats? Tell us in the comments!
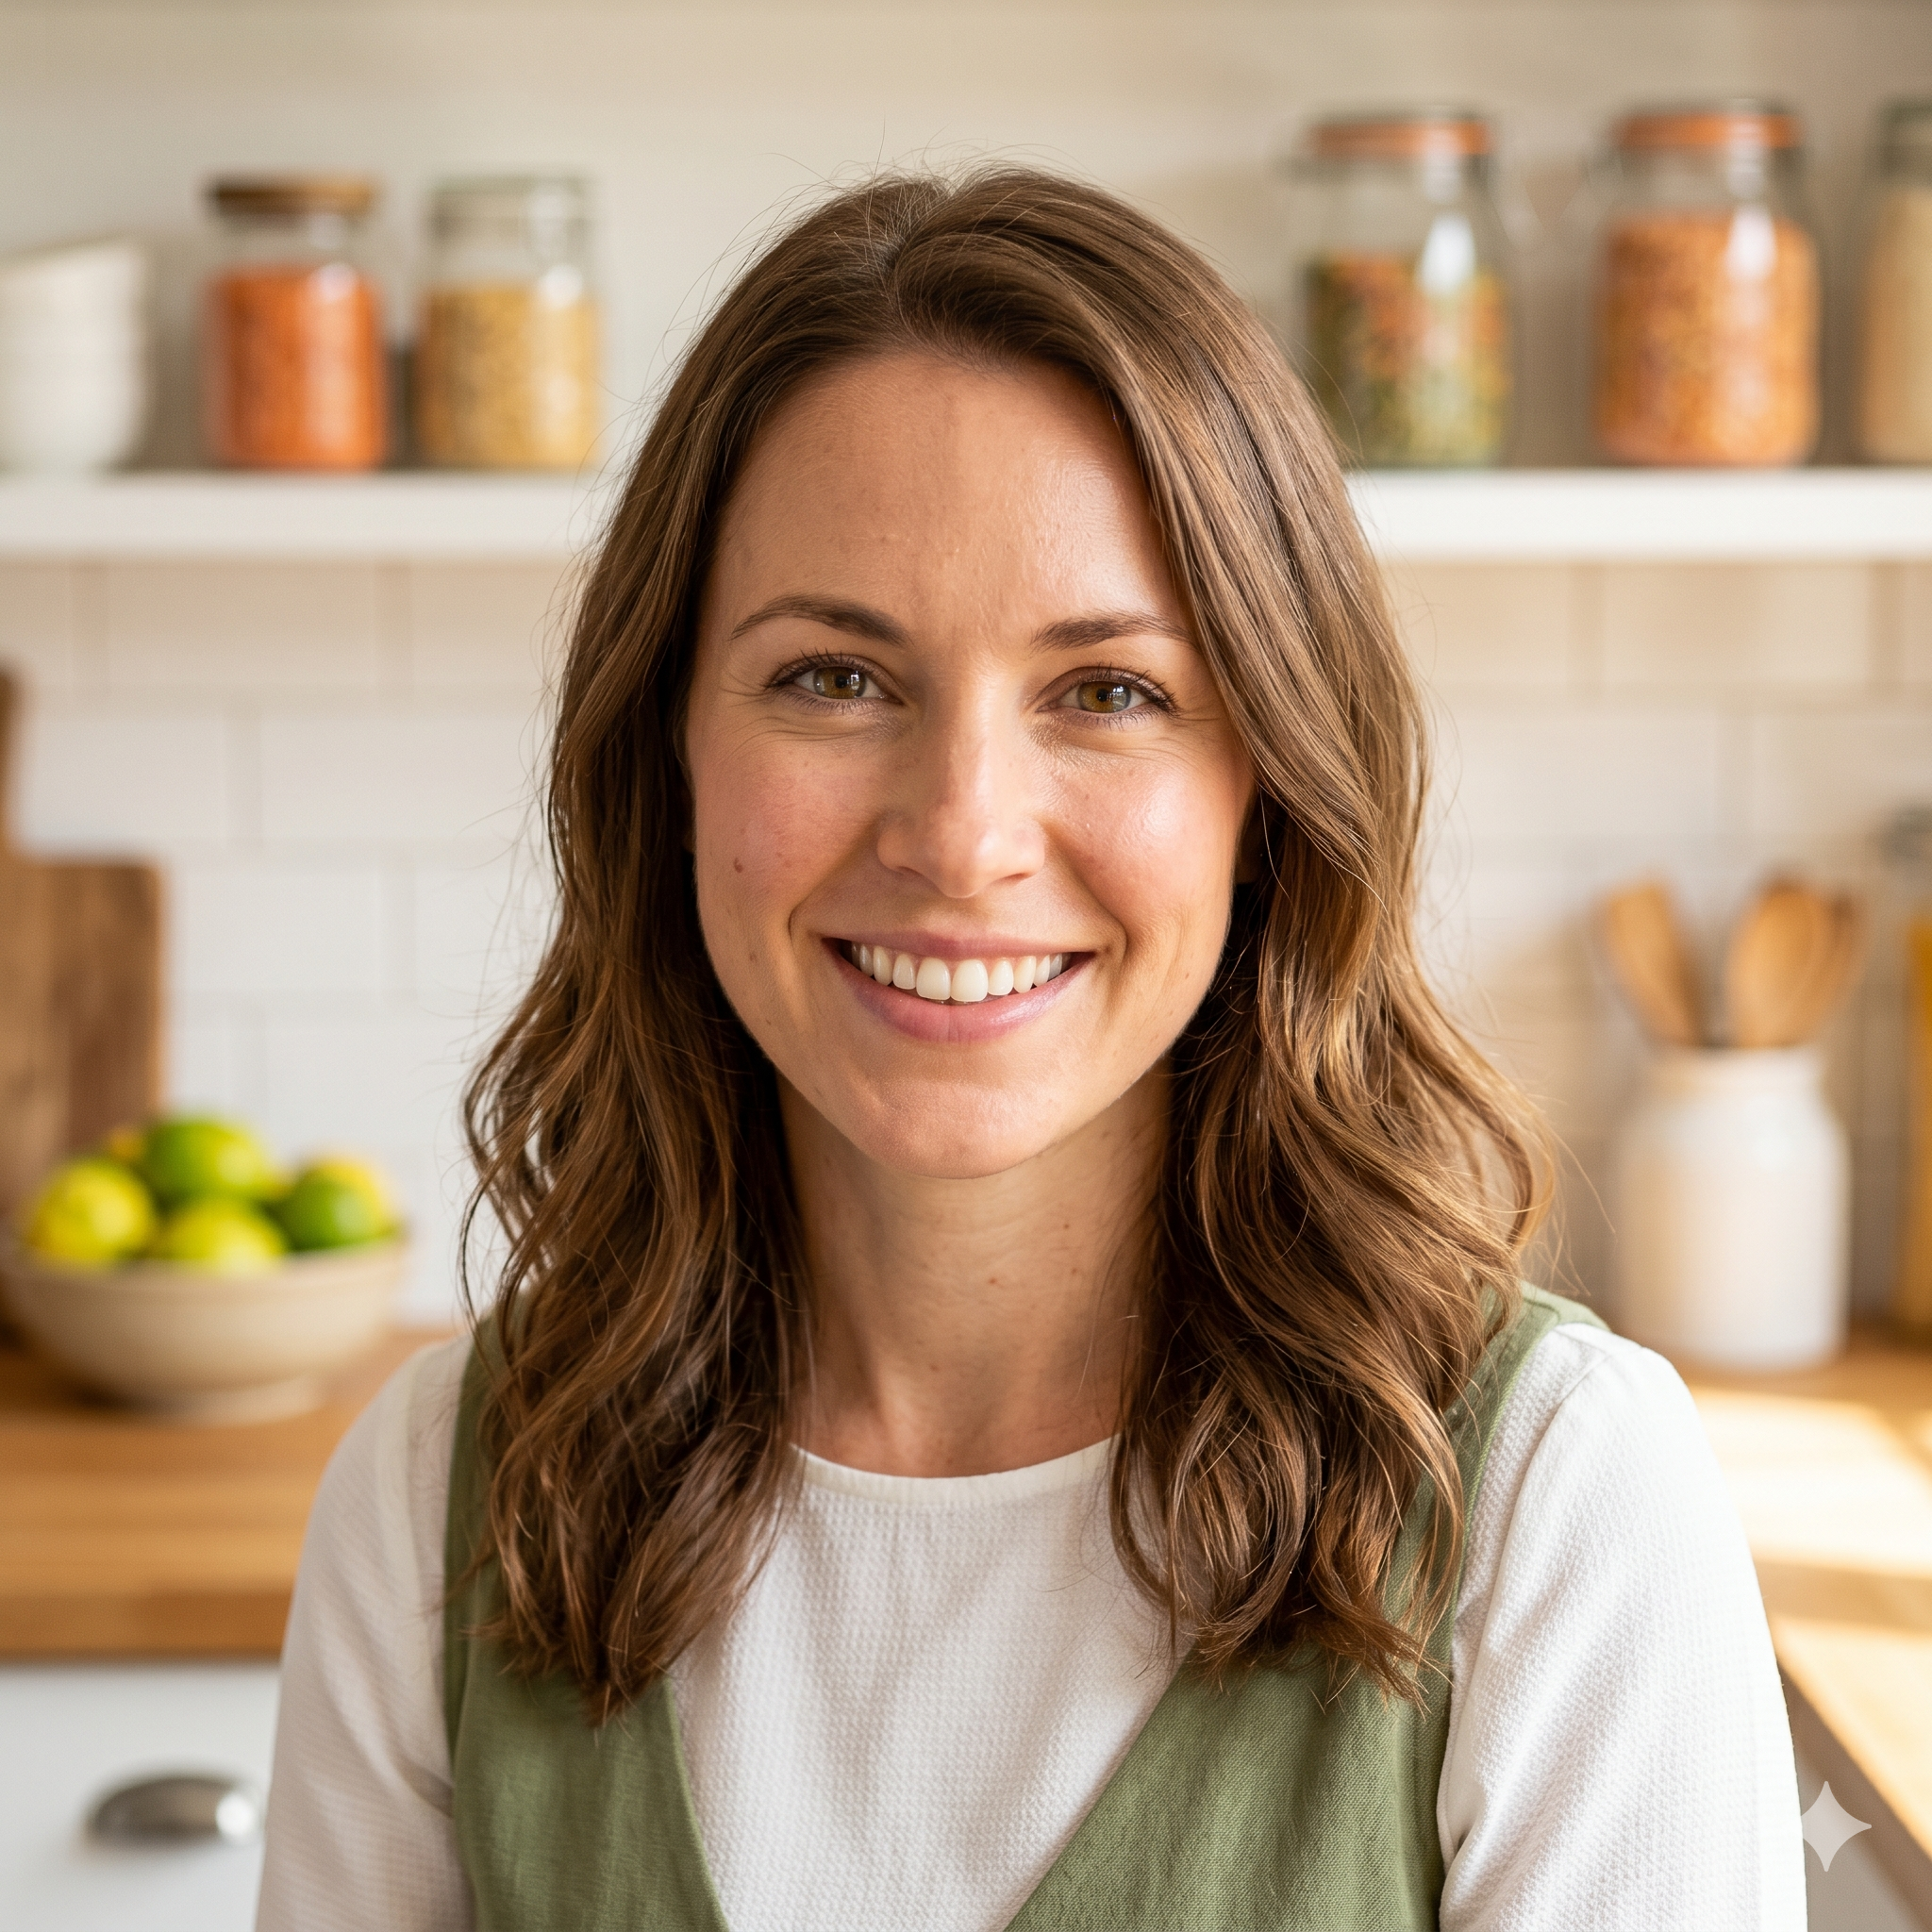
Lauren Marie Collins is a meal planning enthusiast and nutrition writer dedicated to helping everyday people eat healthier, spend less, and actually enjoy the food they prepare. With a passion for practical meal prep systems and honest nutrition guidance, Lauren built this blog to make healthy eating feel simple, sustainable, and genuinely accessible for everyone.